Showing posts with label Life. Show all posts
Saturday, September 3, 2011

I ♥ NY Nail Art!

Hello everyone! Ok it's been a week since we got home from the USA. My house is a mess, my suitcase is unpacked but the contents are lying all over my spare bed, and I'm coming down with a cold but I have time for some I <3 NY nail art ;-)


Simple but well known! I used OPI Alpine Snow as the white base, Illamasqua Boosh as the black and Illamasqua Throb as the red heart.


This small cup was my inspiration. Funnily enough I did not buy this on my NY trip last month but a friend gave it to me a couple of years ago.


I did however buy this pencil that comes with a big heart topper :-P


And of course an I love NY post wouldn't be complete without some arty iPhone pics. I have so many but it's almost midnight and I got up at 6am @_@ I shall just find a few.


Toys R Us. Same say better that FAO Schwartz but I don't know...


Central Park. So huge I think you need at *least* a week to explore it all!


View of the Brooklyn Bridge from South Street Seaport mall.


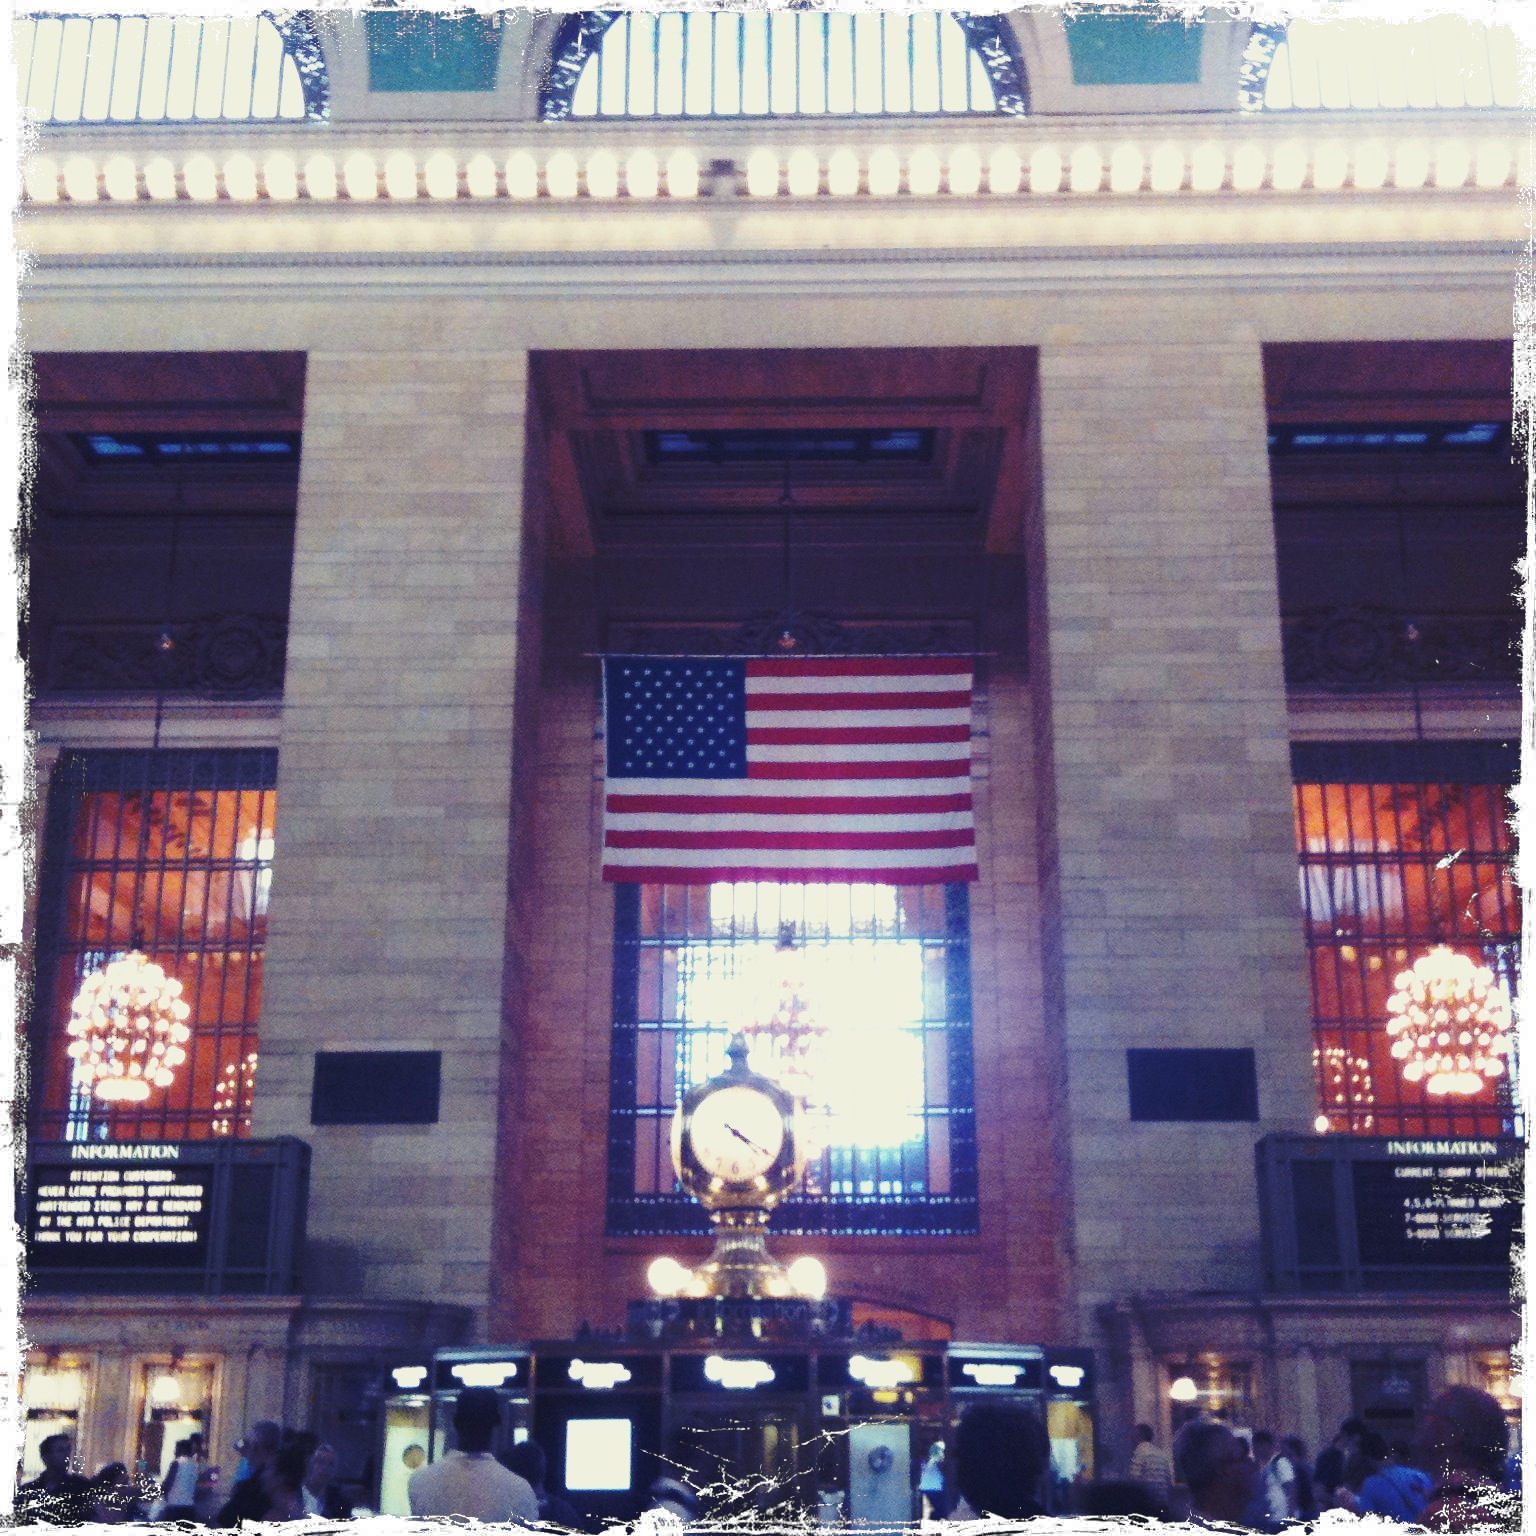
Grand Central Station!


Salty pretzel goodness @_@


View from top of the rock!


Random subway shot :-P

Well that's all I have for now my lovelies. I hope you are having a fantastic weekend and I shall see you all next time!


Thursday, August 18, 2011

Crazy Pineapple Nail Art tutorial and second vacation update :-)

Hi everyone! This design was inspired by my hello kitty calendar for July which has hello kitty in cute little pineapple hats. I decided to just do the pineapples :-)


Yup these pineapples are totally cray cray and I like it! Very green which is unusual for me, but I was inspired by Orly's Fresh. Materials below:


Left to right we have Sally Hansen Green With Envy, Orly Fresh, Illamsaqua Smash and Boosh, OPI Alpine Snow, Essie Mink Muffs and finally OPI Fiercely Fiona. I really need a full size of that yellow polish! It is fab.


So to start off with I actually painted my nails with a white base. This was for two reasons - 1) To make the green brighter and greener and 2) I'm fairly suspicious when it comes to green/yellow based polishes as they often yellow your nails. I wasn't taking any chances. I worked with the thumb design then decided to continue with the rest of my nails :-)


To start off the pineapples I did the outline in and filled in white. This was OPI Alpine Snow.


Next I used OPI Fiercely Fiona to fill the pineapple part. Turns out lovely and bright over the white base.


Then I filled the pineapple top with Sally Hansen Green With Envy.


Now for the criss-cross lines! I very gently drew diagonal lines with Essie Mink Muffs over each nail.


Now the other way! I used a small nail art brush but a long striping brush may also work. I'm just used to doing everything with one brush :-)


With Illamasqua Smash I carefully outlined the pineapple leaves to give them some definition.


Now for the face! Using Alpine Snow again I drew the whites of the eyes and the mouth.


Finally I dotted the eyes with Illamasqua Boosh and faintly drew a line across the mouth with Essie Mink Muffs and we're done!

Vacation update: I am currently in New York and have been here since Monday evening. We finally purchased some expensive net and so I'm catching up on the blogging world and publishing one of my pre-saved posts :-)


Oh em gee. Times Square at night = crazy. I thought it was busy during the day but no way, night time is way worse! Shall be avoiding it now that we have gotten our photos :-) And everyone is trying to sell you something :-/


Hehe we made our way down to South Street Seaport after the WTC and Wall St and I did some good shopping at bath & body works. I picked up some new halloween hand sanitizers and quite a few body lotions :-S I have NO idea how I'm getting this stuff into my suitcase!


Today we went to the statue of liberty and stood in the rain for an hour at 7am waiting for the boat -_- That sucked mega but eventually the rain stopped and we made it ok. We only got Pedestal tickets (I wasn't about to climb 200+ steps the crown) and that was 150 steps!


Here's my disneyland video from last week. There's a few others up on the channel so check 'em out if you're interested ;-)

Well I hope you enjoyed the look, it's fun to do something silly every once and a while :-) Hope you're all having a lovely day and I will see you next time!

Thursday, August 11, 2011

Orly Happy Go Lucky swatches and Vacation Update!

Hi everyone, I have some Orly swatches today and a little bit of a nail design at the end :-) This collection is called Happy Go Lucky and I believe it's the 'back to school' collection.


Left to right we have four bright colours, each starting with 'F': Frisky, Flirty, Frolic and Fresh. All are cremes except Flirty which has a gorgeous shimmer as you will see below :-)


Above we have Frolic with no top coat so you can see the finish - this was actually one coat so and you can see how much coverage you get with just one coat!


Above is Frolic with now two coats and a top coat.


Above we have Flirty with no top coat and just one coat of polish. That shimmer is to die for. If you're a pink polish lover, this is for you. I don't normally go for pinks but after putting on this polish I was just @_@ at my nails. So barbie, so pink.


Above is Flirty with now two coats of polish and a top coat. Dang this is gorgeous!


Above is Frisky with two coats, no top coat. It was more uneven than Flirty and Frolic so required two coats to be 'presentable' in terms of a swatch.


Above is Frisky, still two coats but with a top coat this time. Top coats make everything look nice. It's a nice sky blue and it makes a great addition to my creme nail art polish stash :-)


Above is Fresh with three coats and no top coat. I found this polish the most difficult to work with in terms of formula, hence the three coats. Orly brushes are very thin so that might have something to do with it.


Above is Fresh again with a top coat and still three coats of polish. It's a little 'sickly' green if you don't cover up each coat in the exact same place but to me this would make a great halloween polish! Not so much back to school :-P


And while I was in video conversion hell trying to rip videos for my Motoral Xoom tablet, I decided to do some funky bubble nails. Yes with a pink background. Everytime I look at them I think of that Sodastream commercial on tv and the dude yelling 'Sodastream is back! Get busy with the fizzy!' :-P Omg that ad annoyed me so much when they were spamming it non stop! Now you can all watch too! Haha.


I left the bubbles overnight and thought they could do with some extra cuteness so I drew purple starfish the next day!

Well I hope you enjoyed the swatches and the designs and I hope you're all having a lovely week! I am currently staying at one of the Disneyland resorts, I've just had a full day at Disneyland and I am absolutely exhausted! We have taken thousands of pictures but we have only JUST gotten some free net here! Wifi is so precious and scarce overseas :P Here are a few piccies...


This is part of Hollywood Blvd - the craziest tourist spot I have EVER been to so far. Do not attempt to walk around here when there are movie premiers! There were two when we were staying here - 30 minutes or less and Final Destination 5. Totally crazy. I have little patience for crowded walkways!


Next we havee Rodeo Dr - the shopping destination in Beverly Hills. We came through here twice - once on a hop on hop off bus so we could walk around, the second on a movie star homes tour (where I actually saw Johnny Depp driving his black Porche in the Hollywood Hills weeeee!)


This is the view from our room at the Disneyland Resort - freaking awesome! Eventually the sun came out and it was so hot walking around.

And if you're interested, I am in the process of making daily videos of my adventures so check out thisleanne on youtube for 3 vids so far - I have linked the first below:

My apologies for the quality - there is only so much you can do with an iPhone 3gs and no macbook or lappy ;-) Ok I really must sleep now! Until next time my lovelies...


Saturday, July 9, 2011

Birthday Cake Nail Art feat. OPI DS Signature!

I realise I have been absent from the online world this week. I was very suddenly hit with a cold turned chest infection and it just knocked me over completely. Bedridden :-( Thankfully I am starting to feel better and since it's my birthday tomorrow, I have birthday cake nail art!


Ah yes and that is the elusive OPI DS Signature holographic polish. I paid a pretty penny for it. Actually compared to how much OPI costs here in Australia, I didn't pay much at all! Online hauling definitely for the win! I am so sad OPI replaced all the holographic DS polishes with non holographics. They must have bad things in them :-S And after a single day test run I am highly suspicious of this polish being a 'yellow tinging' polish... that doesn't really matter because it's so pretty @_@


So despite the initial sheerness of one coat, two coats was all I needed to get decent coverage. I think the holographic effect definitely takes away from the slight sheerness.


This birthday cake design wasn't too complicated, although there were a few colours involved - China Glaze Snow for the plate,  MAC Ice Cream Cake for the 'cake' (oh how appropriate, I didn't realise that coincidence until JUST then :-), Sephora by OPI The Way Tutu His Heart for the icing, OPI DS Signature for the base, OPI Flit a bit and Fiercely Fiona for the candle flames, and finally Essie Mink Muffs for the candle sticks. Who has brown candle sticks? Yeah I have no idea either :-P


So starting with the plate I drew ovals with a small nail art brush in China Glaze Snow.


Then I drew a sort of can shaped rounded cylinder over the cake plate in MAC Ice Cream Cake. They look like top hats. Cool!


Next I added icing using Sephora by OPI The Way Tutu His Heart. This was a tad sheer so I had to go over it a little bit.


Next I drew the candle sticks with Essie Mink Muffs and added the base of the flame with OPI Flit A Bit. It looks pretty good at this stage, but I decided to go one colour further and add the yellow as shown below:


Finally Fiercely Fiona added for an extra 'flamey' effect and we're done :-)


Close up swatch of thumb and pretty holograpahicness @_@

Well that's all I have for today! I am going to lie down before I get a secondary infection or worse. I'm kind of in that stage where you're getting over a cold but if you push yourself too far you could easily develop another infection. As for birthday presents, one came early as my boyfriend surprised me by taking me to the airport - he arranged for my dad to visit for my birthday! There was a lot of crying on my part, I had NO idea he had organised that! He is such a sweetie. Well, I hope everyone is having a fabulous *germ free* weekend and I shall see you next time!